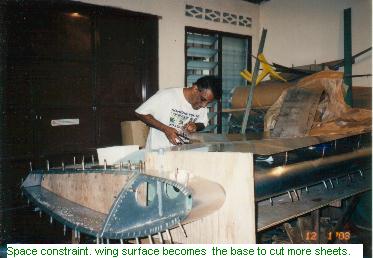
As Tony Bingelis says to the effect that, once you have done forming and finishing the ribs, you will be very comfortable with the rest of the jobs to complete the Project. I feel this is very true. Cutting out all the blanks with varying length of the cord is challenging. To make it less confusing I cut all my blanks to a standard size i.e. to satisfy all chord lengths.
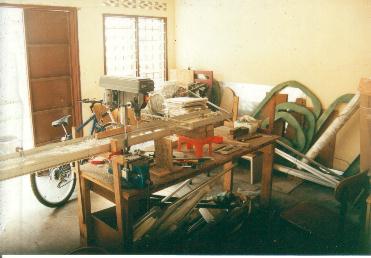
God was very kind to me, just as I was hunting for sheet metal, I got connected up with Mr. Syed Allhadad, who lives 15 kilometers from my place (through the Internet - Aircraft builders List). He is a licensed aeronautical engineer. He was so helpful and agreed to be the supervisor for my project. I obtained the required sheet metal to start on the nose and rear ribs. It was a never ending job, there were so many operations involved in their completion.
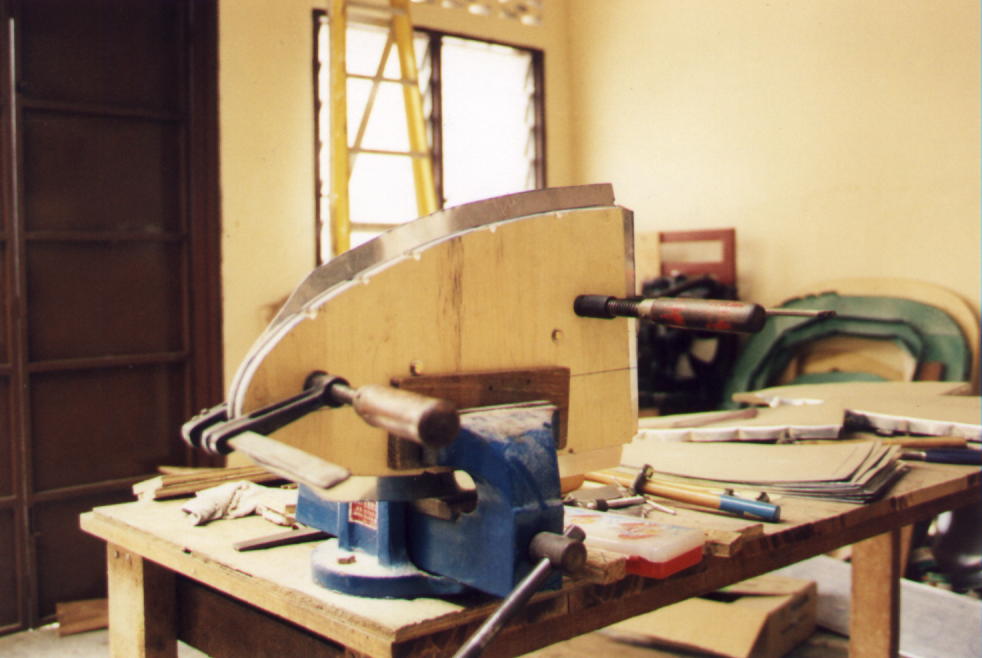
Bending them between plywood forms were easy, but pay close attention to the
right and left forms and their required thickness. I wrote the instructions
on the blanks itself before starting work. I introduced a 1/8" flange in the
nose portion. This has made the rib very rigid. The length of the spar
attach side should be 8-11/16". Flutes were formed before removing from
plywood sandwich, (but these were removed later, in my case).
The blanks for the rear ribs were cut at maximum chord length. This length will be adjusted when attaching the rib-attach brackets, at the respective station.
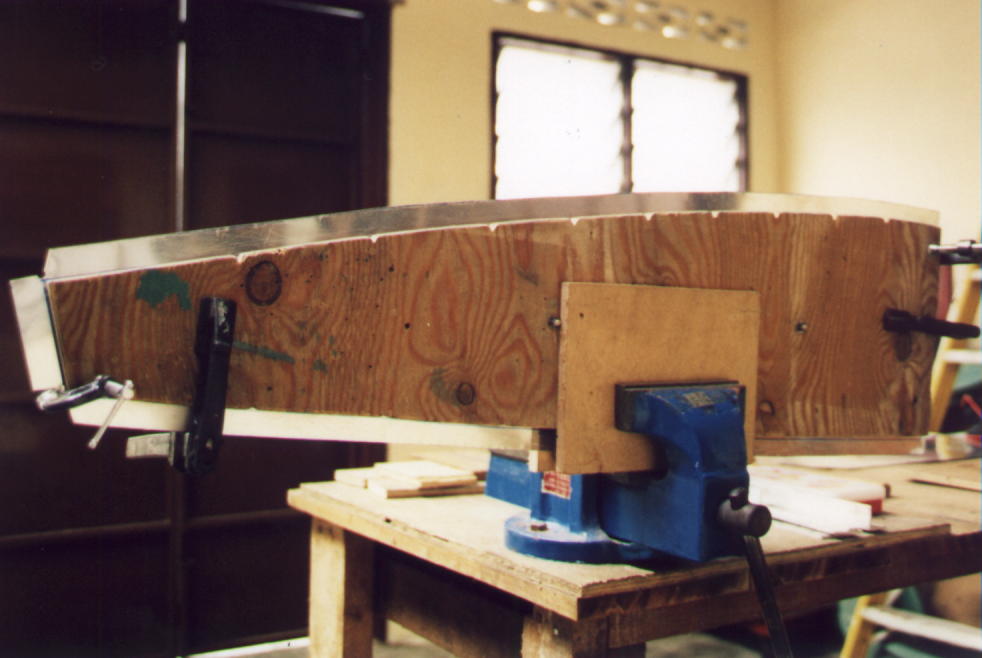
The Flutes so formed using the method described in the plans are very
unsightful and crude. Maybe I was not good at doing it, too much waviness
and uneven profile. I would suggest using a fluting pliers for better
result, or better still look for a metal shrinking tool to remove the waves
as shown below.
I was lucky enough to have access to flanging dies, courtesy of Chris
Nealson, It save me several tens of hours. The results were perfect, and
achieved in record time.
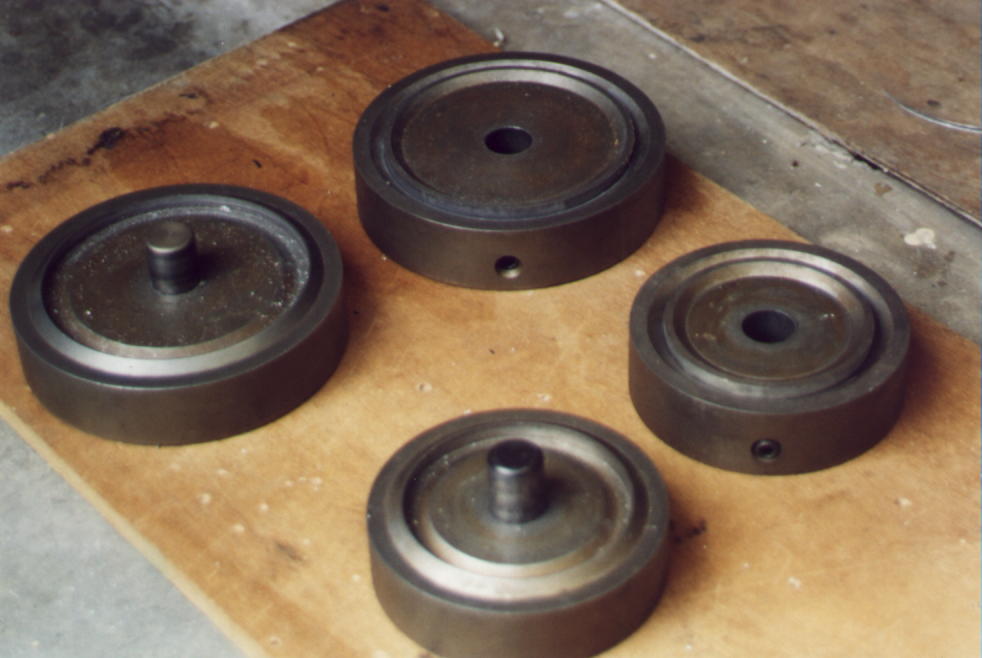
All that was needed was to place the rib (a guide 5/8" hole pre-drilled on
the ribs) on the die and whack with a hammer, it cuts the hole and flanges
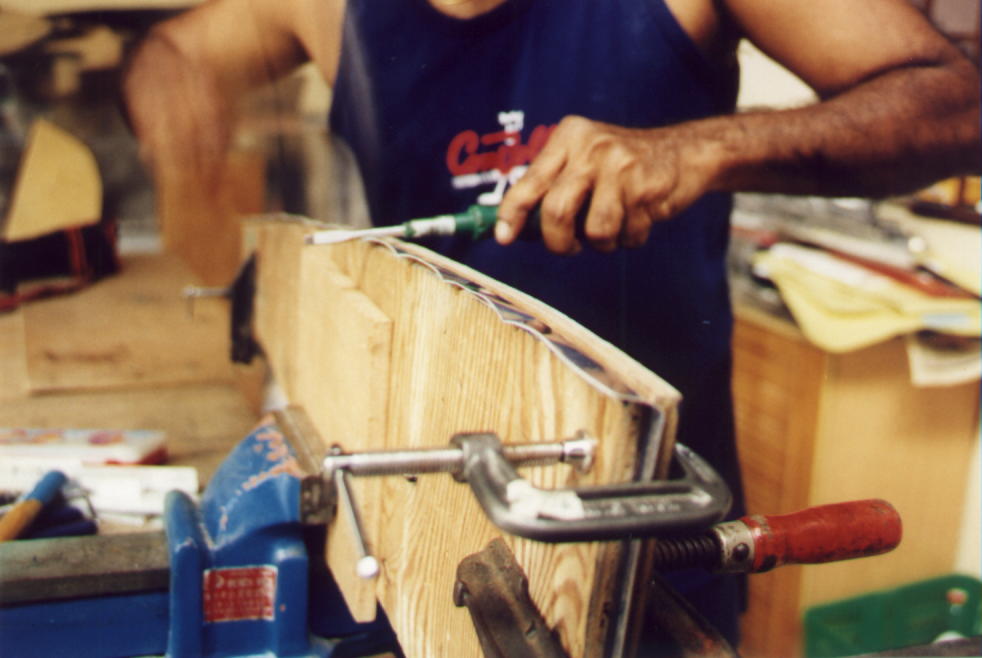
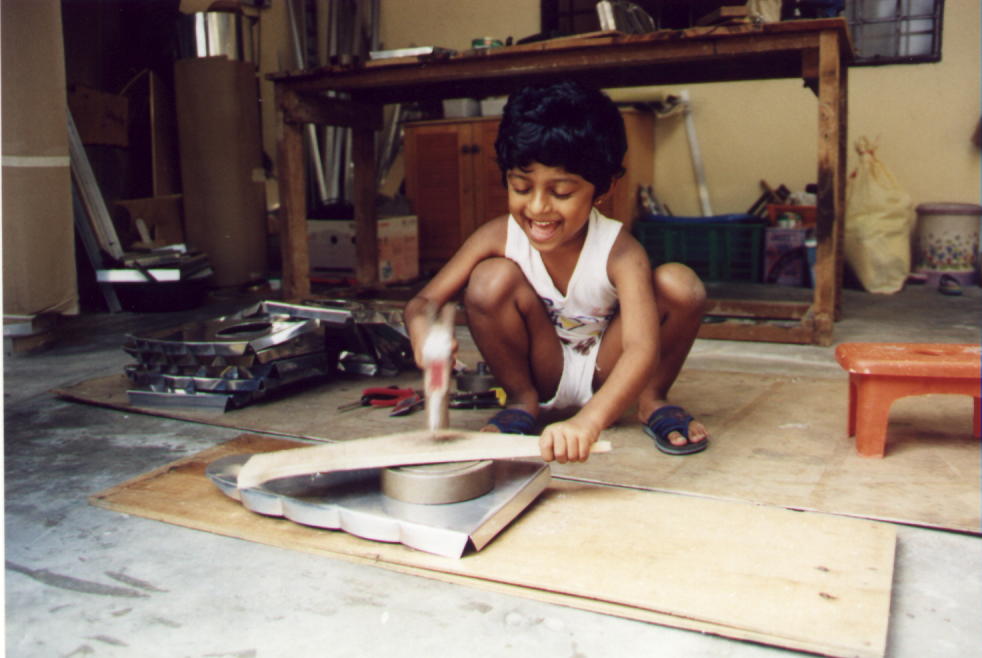
the edges in the rib. Even my daughter Abi was able to give me a hand.
The metal shrinking device was a wonder. The waviness of the crude flutes were gone.

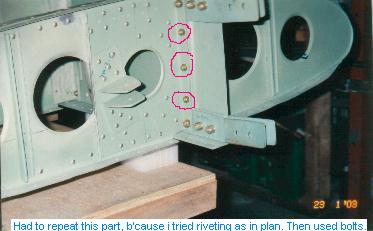
The enhanced ribs after going through metal shrinking process, needs
sanding, that's all. The tiny rivet holes will bear the rib stiffeners
later.

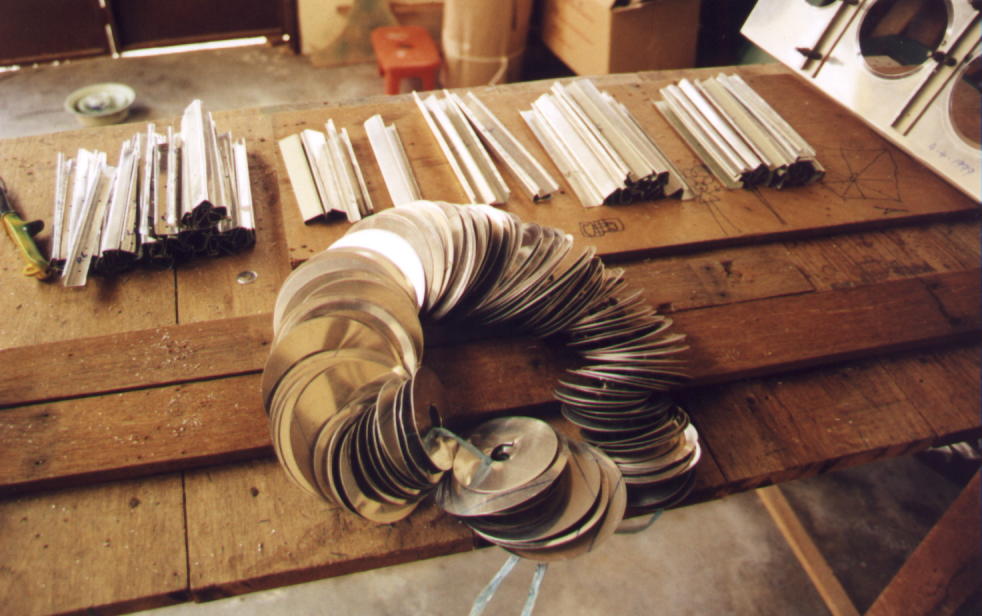
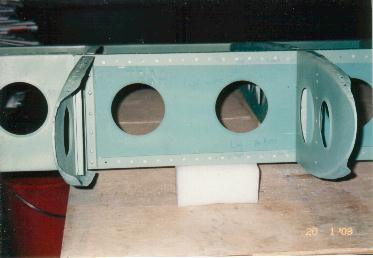
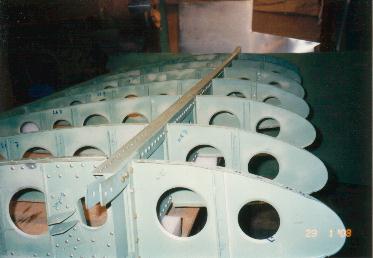
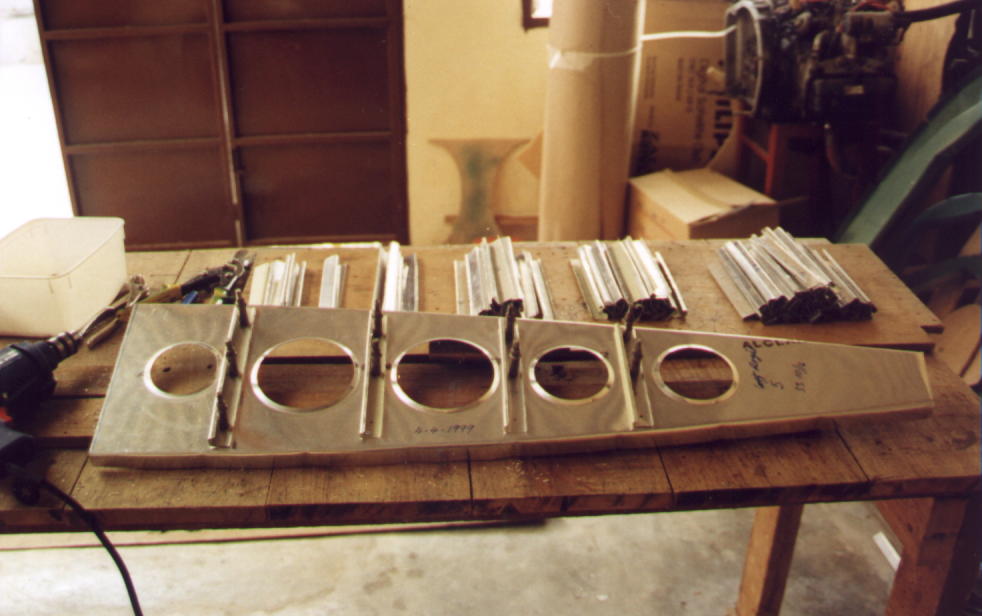
The rear ribs were a joy to do, since the curves were not as prominent as the nose ribs. The rib stiffeners were made using 0.025" 2024-T3 material. I made the angles with three bends, so as to make them smaller and stiffer. Seen below is a rib with the stiffeners in place.
The total weight of all the rib lightening material removed is around 2
lbs. Where else the rib stiffeners weigh equally as much. So where is the
gain? (in the rigidity, I guess).